In this article you will learn two ways to add employee photos to your chart.
The easiest way to add employee photos is to import photos using the import wizard. If you are not using the import wizard, you can add photos one-at-a-time, manually to each box.
Photos: Import wizard
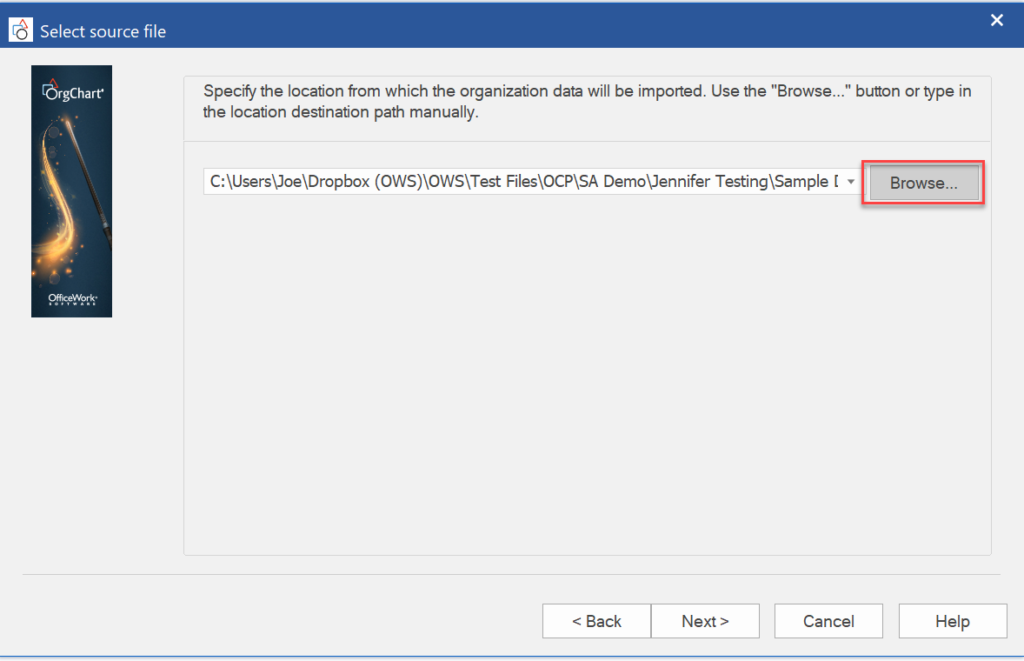
The first option is to have the photos located in the same folder as the import data file. If you are using an Excel file there should be one column titled ‘Photo File’ and each cell in the column should have the filename of the image (photo). Each record/person in the spreadsheet may have one image.
Note, that the program assumes that the image files are in the same folder as the Excel file being imported. But, if the image file is not located in the same folder as the Excel data file, then each cell will need to include an appropriate path name so that it may be found during the import process. Below is a sample dataset with a column for an image file.
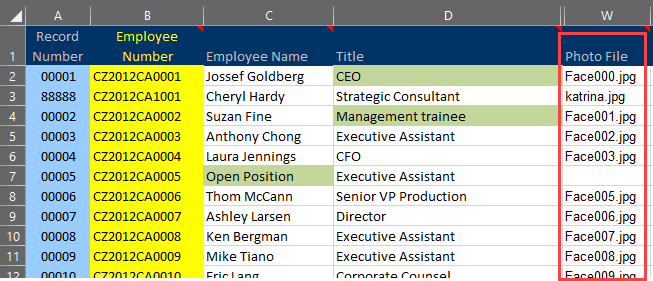
An example Excel file with a column for employee photos.
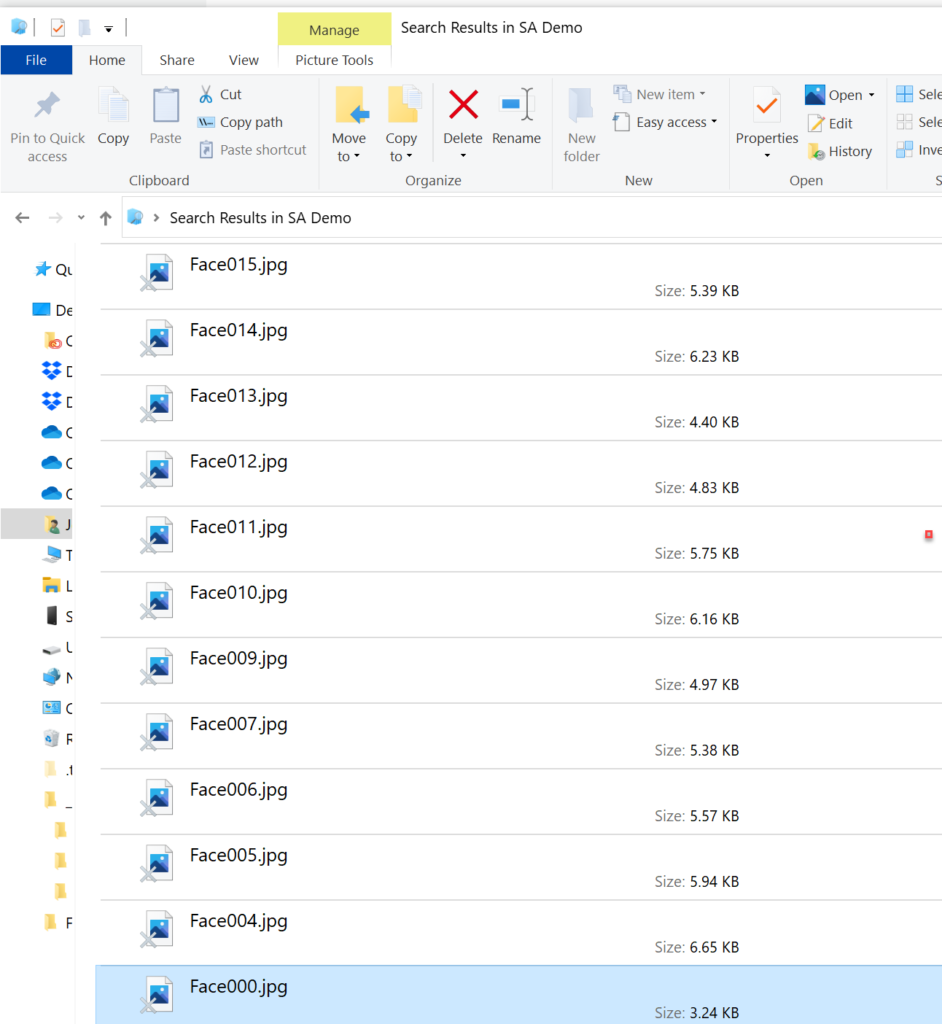
An example of employee photo files in File Explorer.
Assuming the Excel import file and employee photo images are in the same file folder you may begin the import wizard.
Photos: Import file
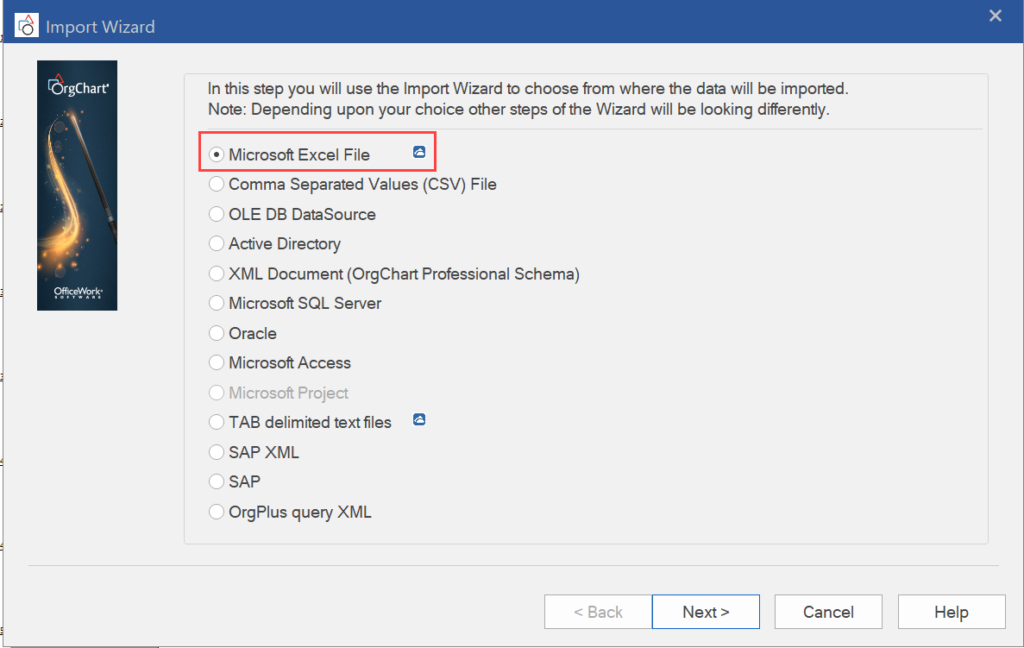
Select the Excel option.
Select the Excel file to import.
Click Next through the subsequent dialogs.
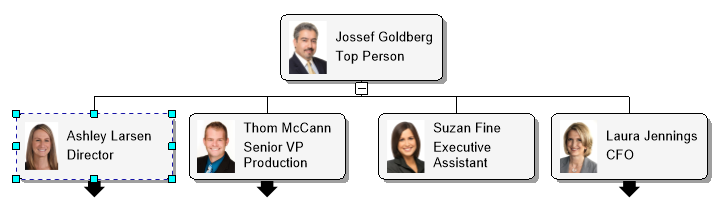
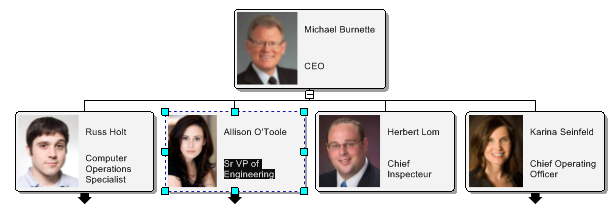
At the conclusion of the wizard a chart will appear.
Photos: Properties
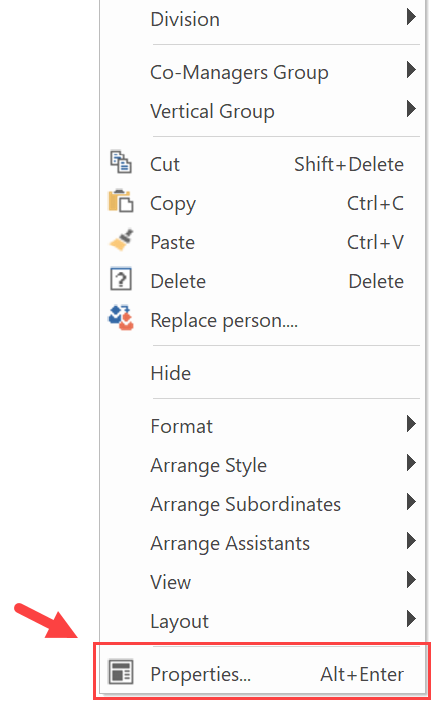
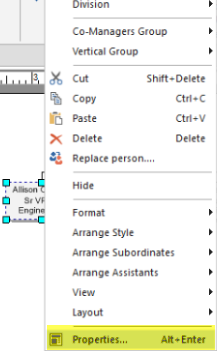
Once you have created the chart right-click on any box and go to Properties.

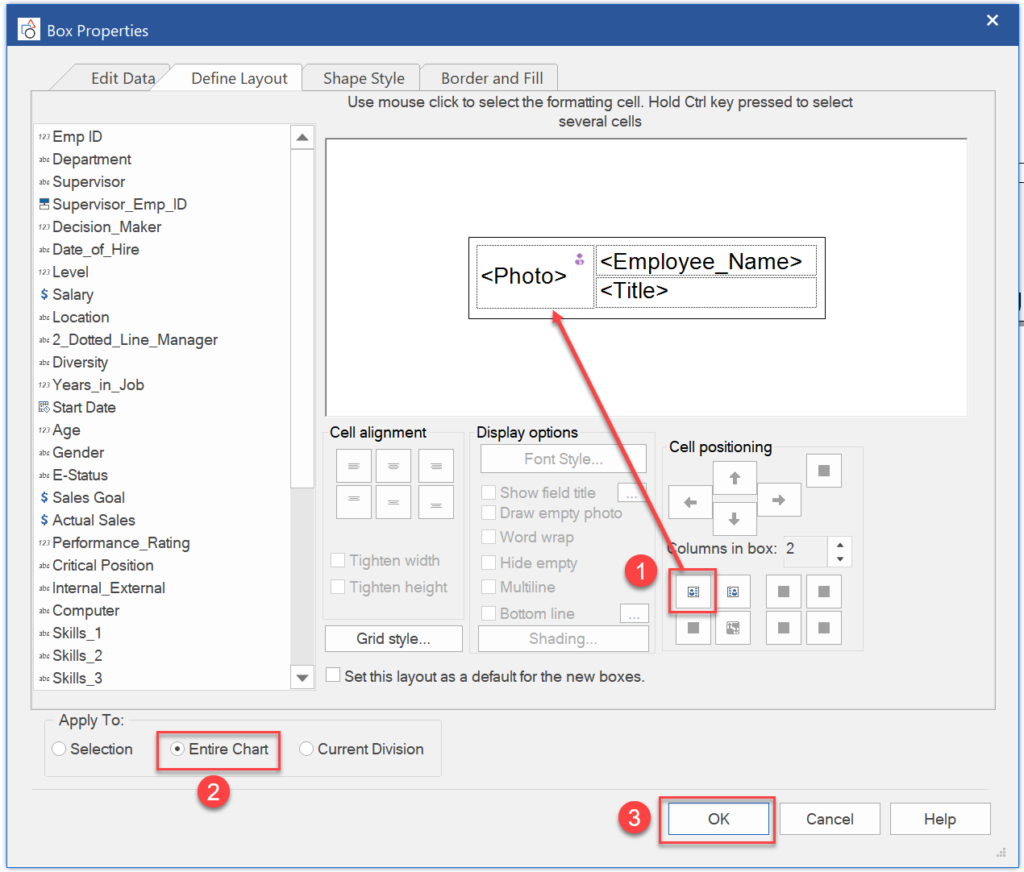
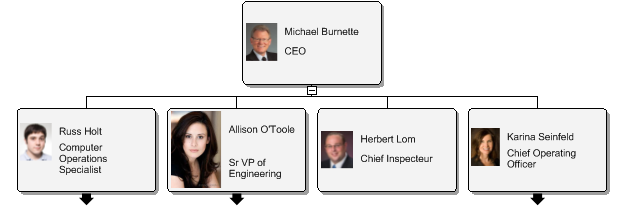
Within the Properties dialog, click on one of the preset photo arrangement icons. Once you choose the layout you want. Click Set this layout as a default for the new Boxes (so that any new boxes have the same format style) and then Apply to the Entire chart.
Photos: Adding photos manually
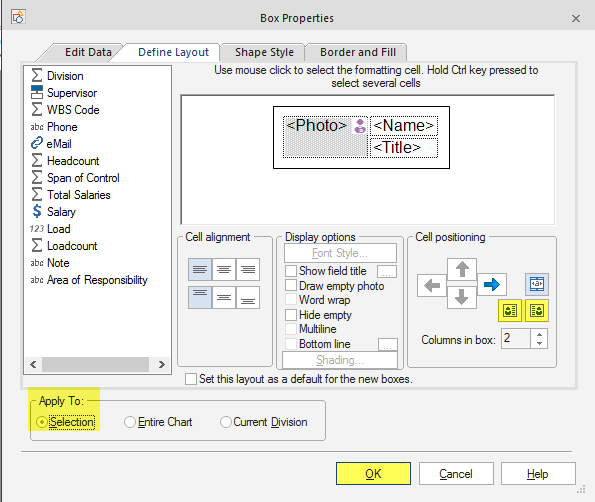
The second option to add your photos to the org chart manually. To add photos manually first you will need to place your photo images in an accessible folder on your computer. Using the chart you have previously created Right-click on the box that you want to upload a photo to and go to properties.
Go into the Edit Data tab and find the photo field. Click on the three dots at the right end of the photo field. You can then browse to the desired image file.
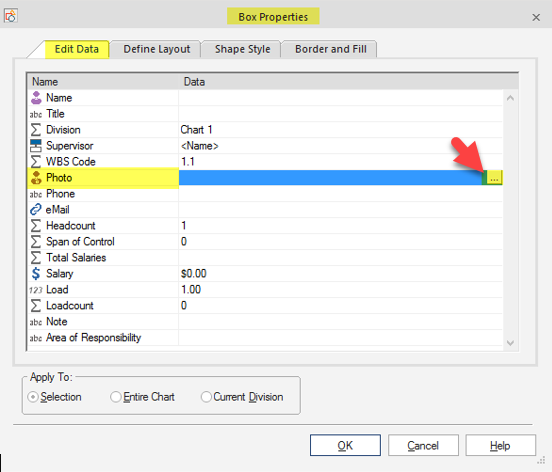
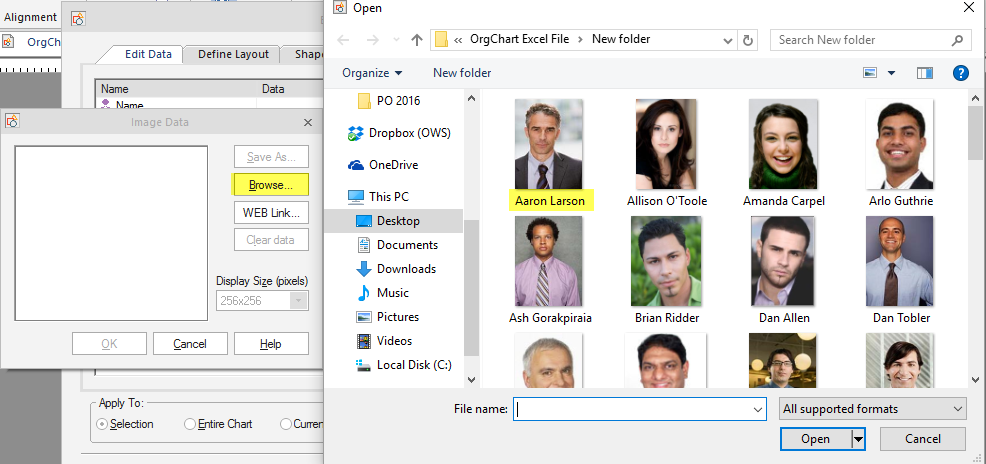
You can then browse to where your photos are located and link up a specific photo to the box.
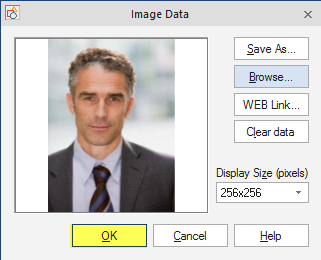
Click OK.
After you have the image linked to the box, go to the Define layout tab and select the photo field on the lower right-hand side. You will want to click Apply to Selection.
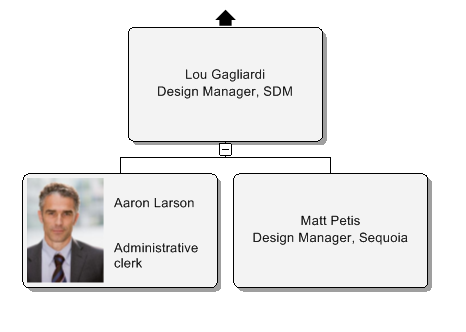
Repeat the manual process for the other boxes within the Chart until all the photos are linked to the box.
Photos: Resize with Format Painter
You can resize your photos that are in the Chart by double clicking on a photo and choosing a desired size.
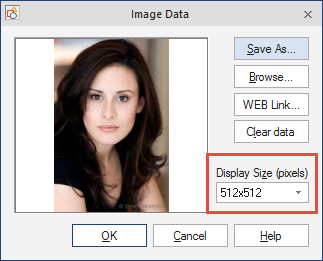
Change to size you like. From there you will want to go to your Home tab select the Format painter. Make sure all of your options are selected and apply to the entire chart.
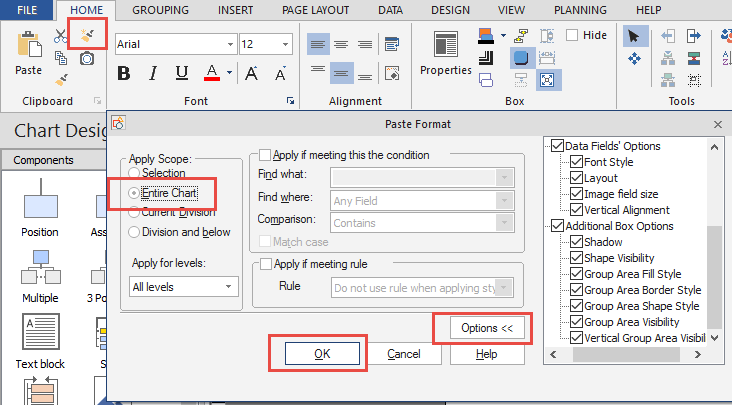
It will resize the photos all at once.
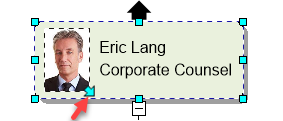
Photos: Resize by select and drag
The second way is to click on the photo one time. A blue arrow will appear. Drag this arrow to achieve the desired photo size.