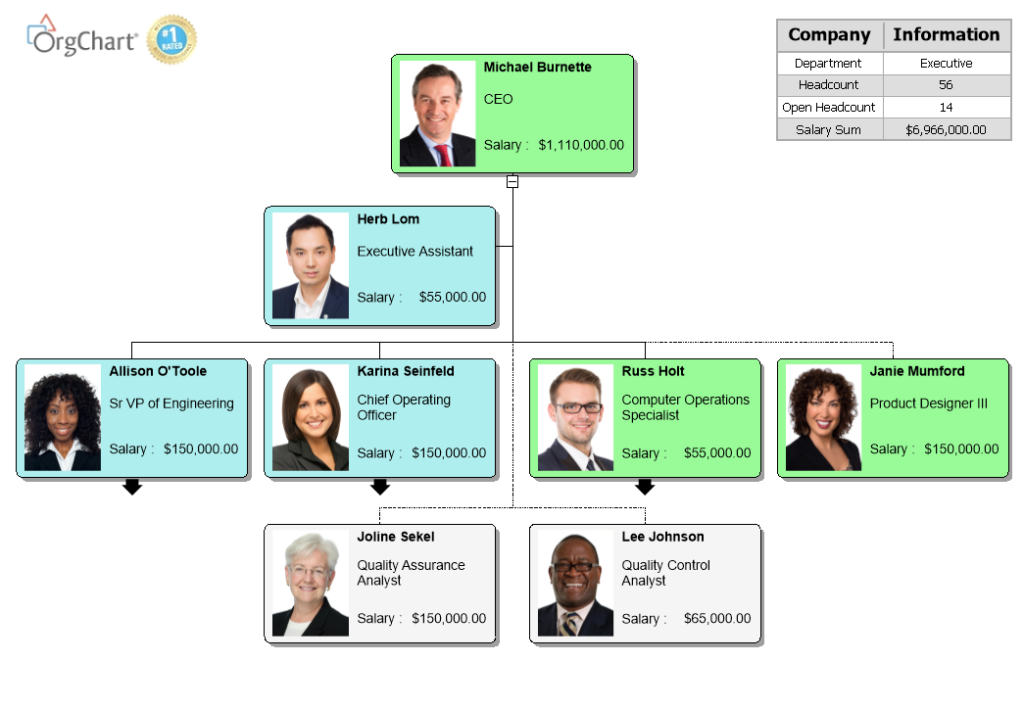
Within the OrgChart Platinum Software, you can use Markers to color code your OrgChart to call out certain groups of employees or data.
Creating Markers: Rules selection
Go to your Data tab, click Markers. There will be two pre-defined rules for you in the markers (manager and Non manager) These are here for you if you would like to use them to color code your employees and managers in the system.

Click on Manage Rules, New Rule, Title your rule and your criteria. The field will be what you are basing your rule off of from the criteria that you pulled in from your data base. The compare you will drop down and choose the best option for your criteria. The Equal To option is meant for only numeric values. The With field will be for you to fill in with the specific criteria.

After the criteria is filled out. Click OK and click OK again.


Creating Markers: Attaching markers
From there you can then select the Attach Marker to choose your color for the box:

Creating Markers: Fill style
Drop down the Marker sign fill style and select a color. Do the same for the Box fill style so they are the same color and click OK.

Creating Markers: Activate marker
Now your Rule is all set up. Click Apply Active Markers Now and then close out the window.

Creating Markers: Results
This is what it will look like once applied.

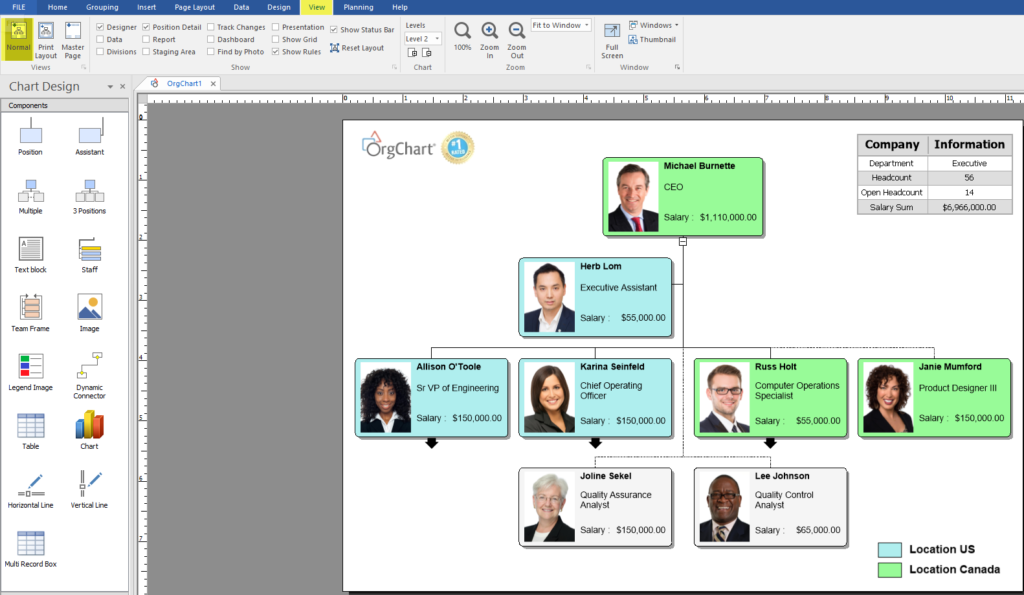
You can then go into your View tab and select the Master Page and enter a legend from the Chart Design section on the left-hand side of the screen.


Creating Markers: Legend
Select From Markers on the legend and it will automatically add the markers to the legend.

Then click OK.

Creating Markers: Legend results
After the legend is added to the chart. In the View tab select the normal view. The legend will be on every page wherever you placed it in the master page.


