Before resyncing you will want to make sure that you have the box formatting set within the Box Properties.
Resync: Box properties
Right click on a box, go to Properties, select the Set this layout as a default for the new boxes then apply to the Entire Chart Click OK.
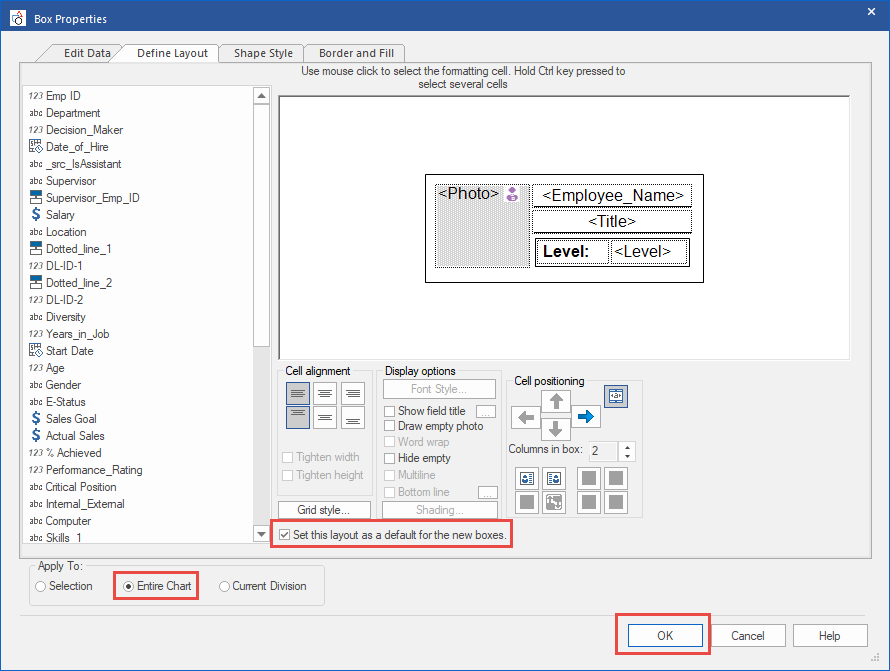
Then before you resync the data you will want to go through the resync properties first. This is to set your formatting within the software.

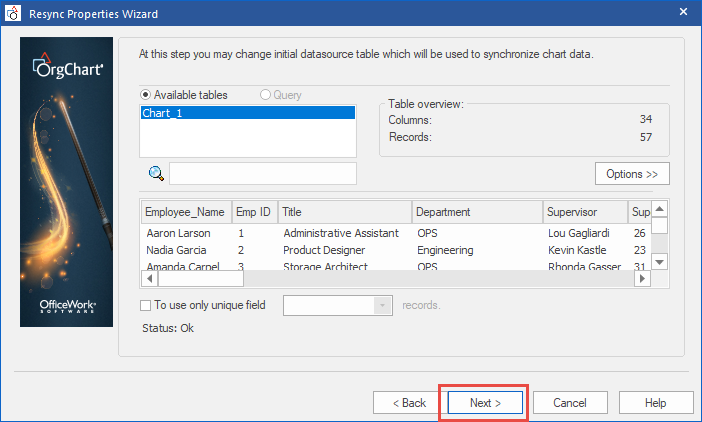
Resync: Spreadsheet selection
The first screen will allow you to browse out to a new spreadsheet for resyncing. Best practice is to keep the spreadsheet named the same and saved over the existing spreadsheet so the link is never broken. If you happen to rename or move the spreadsheet you can come into the resync properties and browse out to link it back up. Click Next.

The software will load up the spreadsheet to make sure there is a live and working link between the software and the spreadsheet. Click Next.
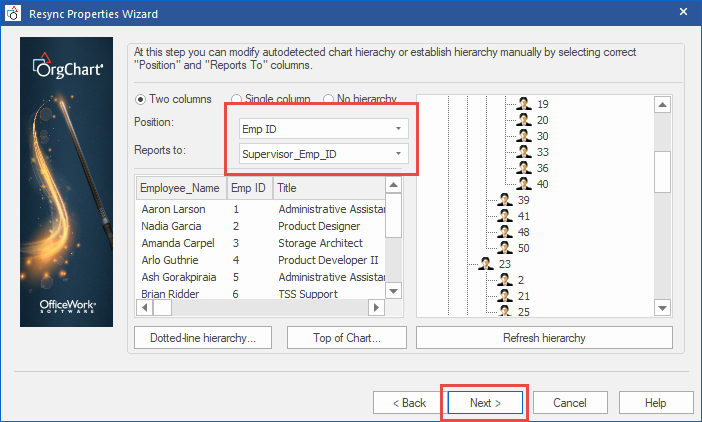
Resync: Hierarchy selections
You will want to verify how you created your hierarchy and click Next.
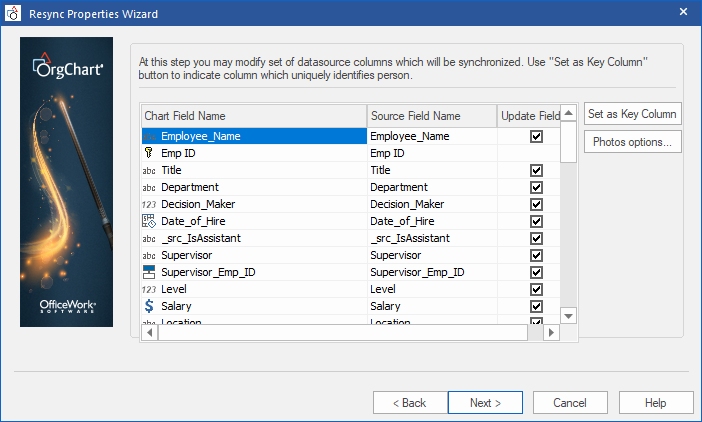
Any updated fields that can be checked, should be checked. Click Next.
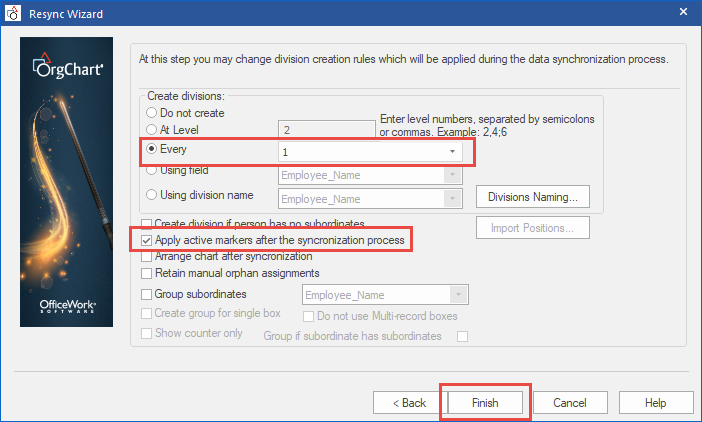
Resync: Markers
The last page you will want to keep the option that you selected while importing the data into the software and check off Apply active Markers after the synchronization process The Apply active markers will redistribute the color codes to any new incoming boxes through the resync you may have in the software. Click Finish.
After you complete the resync properties you can then go to Resync Data.
