To create a background in the master page, go to your view tab, master page. From there you can use your components tab to put legends, logos, and other information that you would like to see on every page within your chart.
Master Page: Initial selection and layout
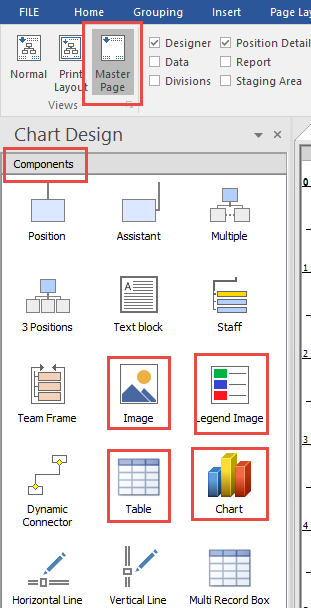
Go to your view tab and master page.

Underneath Chart design within the components tab you can browse out for logos, table, Pie Chart as well the legends into the master page:
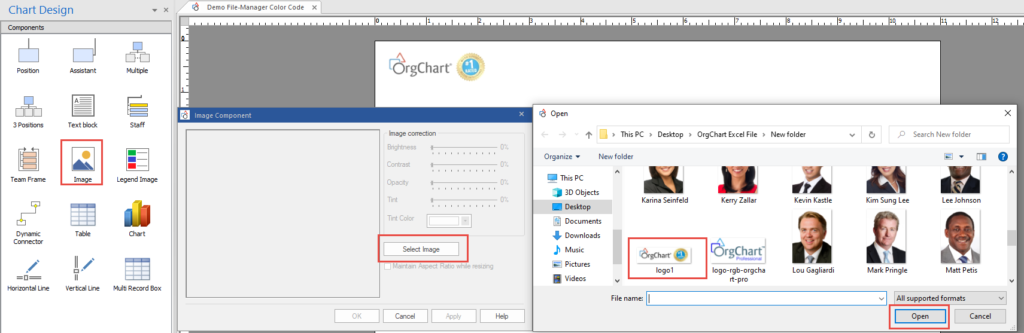
Master Page: Image
You can select image and drag it over to the white area in the chart, browse out and grab onto your company branding, click open and then ok. At that point you can drag it over to where you want it to go onto the page.
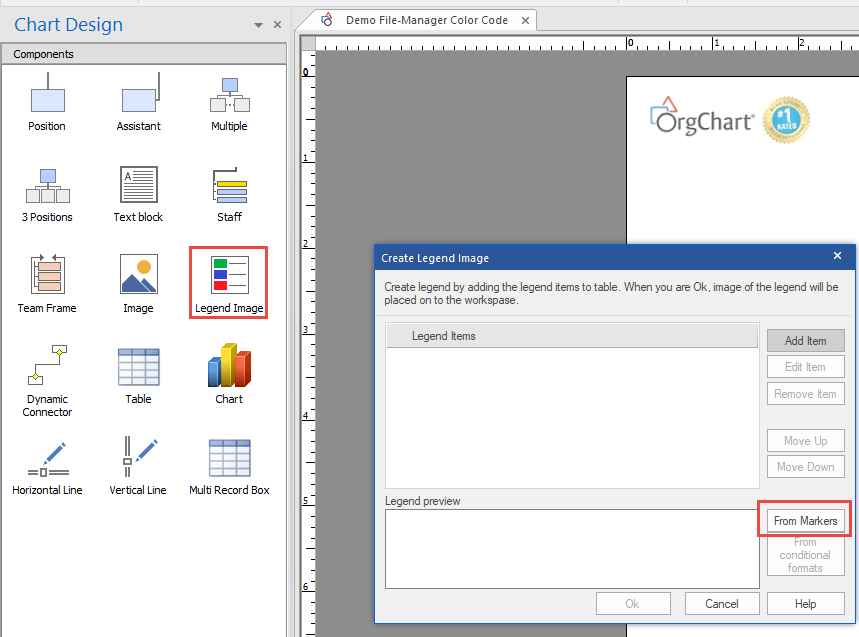
Master Page: Legend
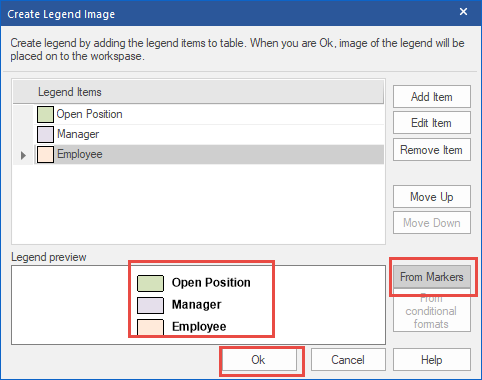
If you have markers or conditional formatting set up within the software and you would like to put a legend into the software, you can click on the legend and drag it over to master page. You are able to create a legend from scratch if you would like or you can select create from markers/conditional formatting.
Master Page: Table
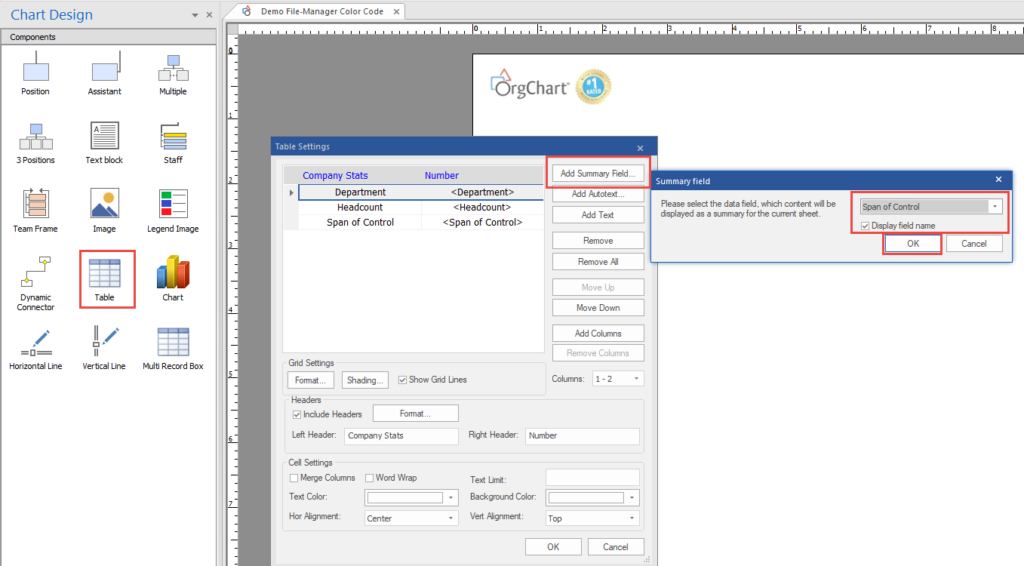
You are able to create a table to display on each page on the chart with different information. This is completely customizable. You will start with adding a summary field value and choose the fields you want to display.
Master Page: Style
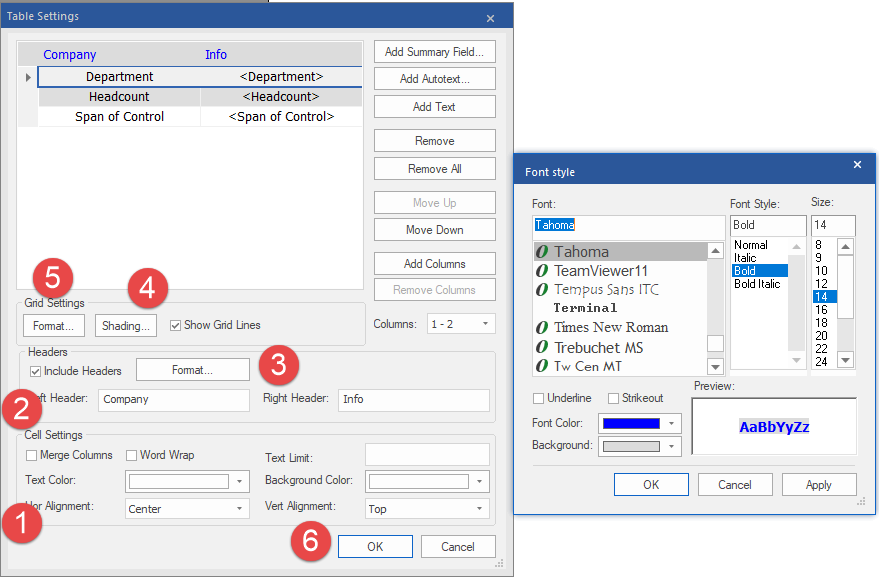
You can change font styles, shading, text color, header information, header font styles and much more.

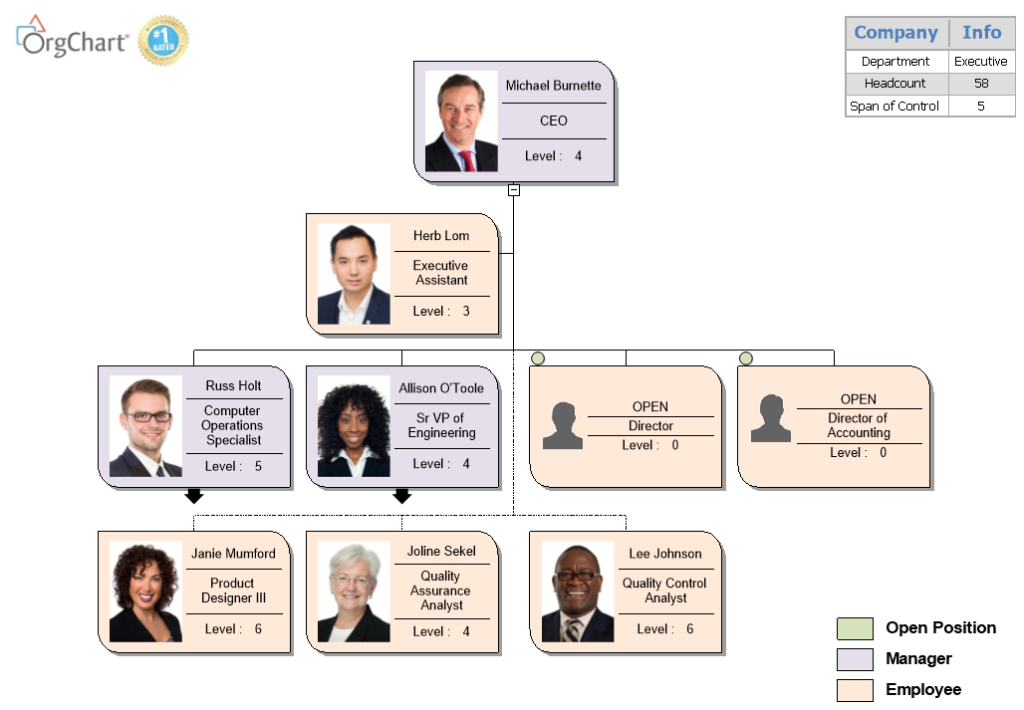
Master Page: Results
Once your master page is all set up, you will go back to the view tab and click on the Normal View to take you to the chart. Now all of the information that you entered into the master page will show up on every page in the chart.