If you want charts that are easy to keep up-to-date you will be interested in Data Resync.
Any chart created by data import can be subsequently updated – automatically – with any changes in the source data. The following describes the steps for updating your imported chart, as organization data changes. The process is called, “resync”. And there are two parts: Resync Properties (the ‘brains’ or settings the process will follow), and the Resync command, which executes the update process.
Resync: Default box format
Before resyncing it is recommended – but not required – that you set up a default box format. This can be done within the box properties. Right click on a box whose style you like, go into properties, and select the set this layout as a default for the new boxes Apply to the entire chart Click OK

Resync: Properties
Before you resync the data go to the resync properties. This is to set your formatting and divisions within the software.

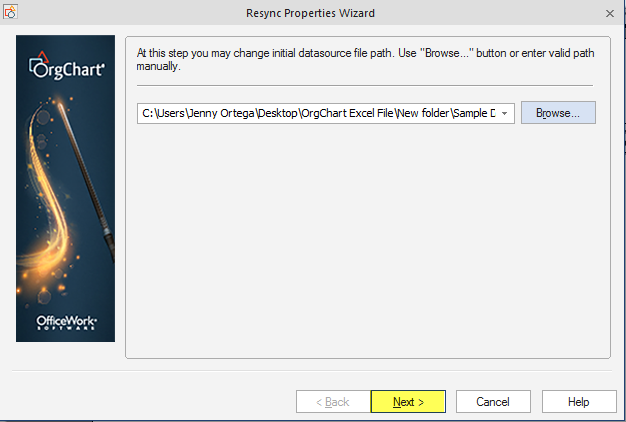
Click on Resync Properties. The first screen will allow you to browse to a data source, in case the one you originally imported has been replaced by another file. Best practice is to keep the spreadsheet named the same and saved over the existing spreadsheet so the link is never broken. If you happen to rename or move the spreadsheet you can come into the resync properties and browse to reconnect to it. Click Next
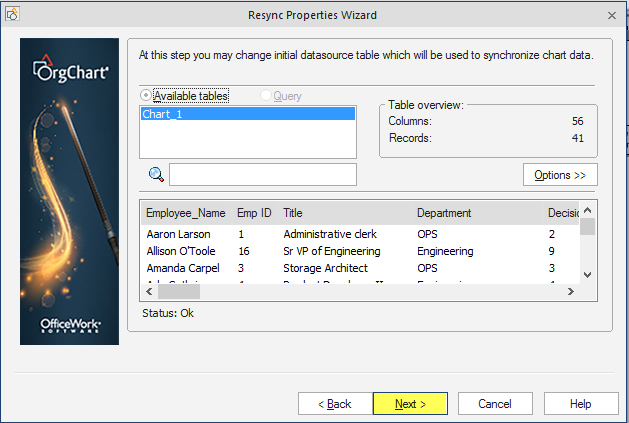
The software will load up the spreadsheet to make sure there is a live and working link between the software and the spreadsheet. Click Next
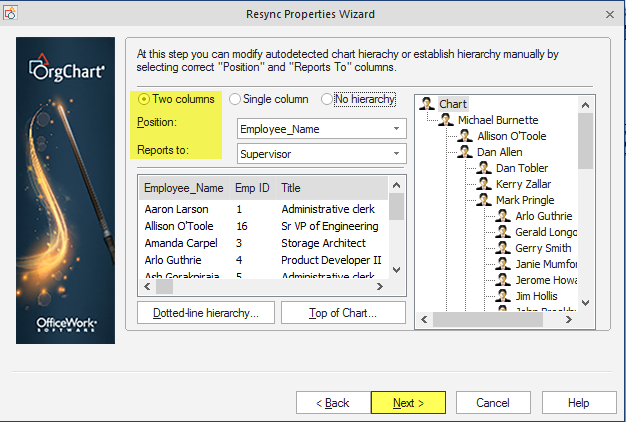
You will want to verify how you created your hierarchy and click Next
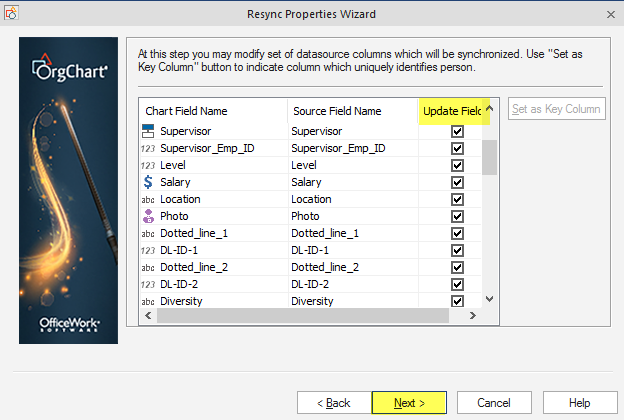
Resync: Update fields
Any updated fields that can be checked, should be checked. Click Next
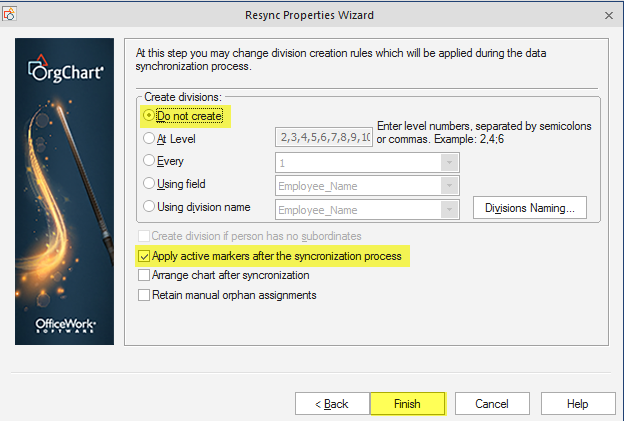
Resync: Apply active markers
The last page you will want to select the do not create and Apply active Markers after the synchronization process The do not create will hold you formatting. If you dismissed divisions, put additional fields into the boxes, changed the layout of the boxes, any type of formatting. The do not create will hold it. The apply active Markers will redistribute the color codes you may have in the software. Click Finish
After completing any changes to the resync properties, click on Resync Data

This step will take all of the data from the file in the Resync Properties and then update the chart.
At the conclusion of the Resync process, you will see a log file showing all changes made to your chart file.